Generating a Resource
Generating Resources
So far we’ve been introducing concepts piece by piece, building up a slowly more complex page. However, the interconnected nature of Phoenix means that if we kept on doing that, we’d spend quite a bit of time with incomplete or broken features. Instead of doing that, we’re going to jump ahead and use a Phoenix generator to create a complete resource, then go over customizing it piece by piece.
For this chapter, we’re going to generate the resource, input several instances of it into the database, then look at the various ways we can interact with the default generated pages (without looking at the underlying code of those pages). In the later chapters of the section we’ll look at the code that’s been generated, understand how it works, and see what will happen when we change it.
The generate task
We’ll be doing the code generation by running a mix task from the command line- specifically mix phx.gen.html. mix is Elixir’s task runner (more on it later), and phx.gen.html is the name of the task we’re running. We’re going to be adding a few more options to this task, giving us the complete command below:
mix phx.gen.html Trade Material materials name:string amount:integerThe first argument, Trade, is the context. They’re a useful organizational tool which we’ll say more about later; in this tutorial, we’ll have two contexts: Trade and Auth.
The next two arguments, Material and materials, are the singular and plural forms of the name of the resource we’re generating. Phoenix chose to be explicit about this rather than trying to guess the plural, like in some other popular frameworks, because being explicit in this case results in less confusion. This is an outgrowth of Phoenix’s general philosophy: abstract away what you can, but when an abstraction could cause confusion, prefer being explicit over obtaining that last inch of magical convenience.
So we have the capitalized singular and the lower-case plural. The other two options are both fields for our resource. The part before the colon is the name of the field, while the part after the colon is the type. In the instance of name:string, the field is called name, while it will be stored in the database as a string. string will also determine part of the code generated in the templates.
Run the task.
$ mix phx.gen.html Trade Material materials name:string amount:integer
* creating lib/star_tracker_web/controllers/material_controller.ex
* creating lib/star_tracker_web/templates/material/edit.html.eex
* creating lib/star_tracker_web/templates/material/form.html.eex
* creating lib/star_tracker_web/templates/material/index.html.eex
* creating lib/star_tracker_web/templates/material/new.html.eex
* creating lib/star_tracker_web/templates/material/show.html.eex
* creating lib/star_tracker_web/views/material_view.ex
* creating test/star_tracker_web/controllers/material_controller_test.exs
* creating lib/star_tracker/trade/material.ex
* creating priv/repo/migrations/20190506123826_create_materials.exs
* creating lib/star_tracker/trade.ex
* injecting lib/star_tracker/trade.ex
* creating test/star_tracker/trade_test.exs
* injecting test/star_tracker/trade_test.exs

Add the resource to your browser scope in lib/star_tracker_web/router.ex:

    resources "/materials", MaterialController


Remember to update your repository by running migrations:

    $ mix ecto.migrate
Then follow the instructions given by the mix command. First we’ll add the resources line to web/router.ex:
scope "/", StarTracker do
  pipe_through :browser # Use the default browser stack

  resources "/materials", MaterialController

  get "/", PageController, :index
  get "/info", PageController, :info
  #...
end
This adds several available urls to our application, which we’ll be visiting later in this chapter.
Then we’ll run the ecto migration:
$ mix ecto.migrate
Compiling 17 files (.ex)
Generated star_tracker app

[info]  == Running 20190506124749 StarTracker.Repo.Migrations.CreateMaterials.change/0 forward
[info]  create table materials
[info]  == Migrated 20190506124749 in 0.0s
This changes the database, creating the table materials- which is where we’ll store our materials data.
Adding materials
Run mix phx.server to get everything running again.
$ mix phx.server
[info] Running StarTrackerWeb.Endpoint with cowboy 2.6.3 at 0.0.0.0:4000 (http)
[info] Access StarTrackerWeb.Endpoint at http://localhost:4000

Webpack is watching the files…
Then visit localhost:4000/materials.
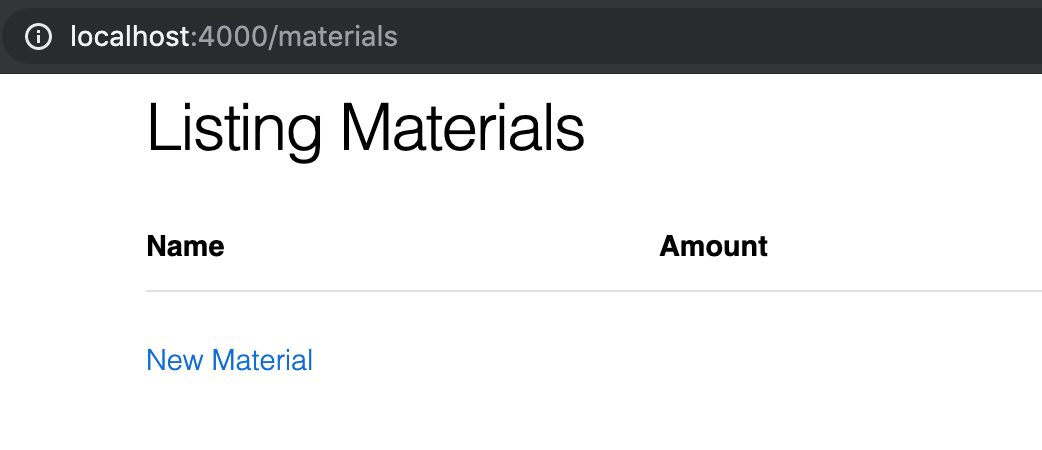
We’ve got the “Listing Materials” header, an empty table with two columns (matching the two fields we put in the generator), and a “New material” button.
Let’s click the “New material” button.

The route we’re at now is /materials/new. Here we’ve got a form with two fields — once again, corresponding to what we put in the generator.
Let’s fill them out with “Hydrogen” for the name and 2000 as the amount.
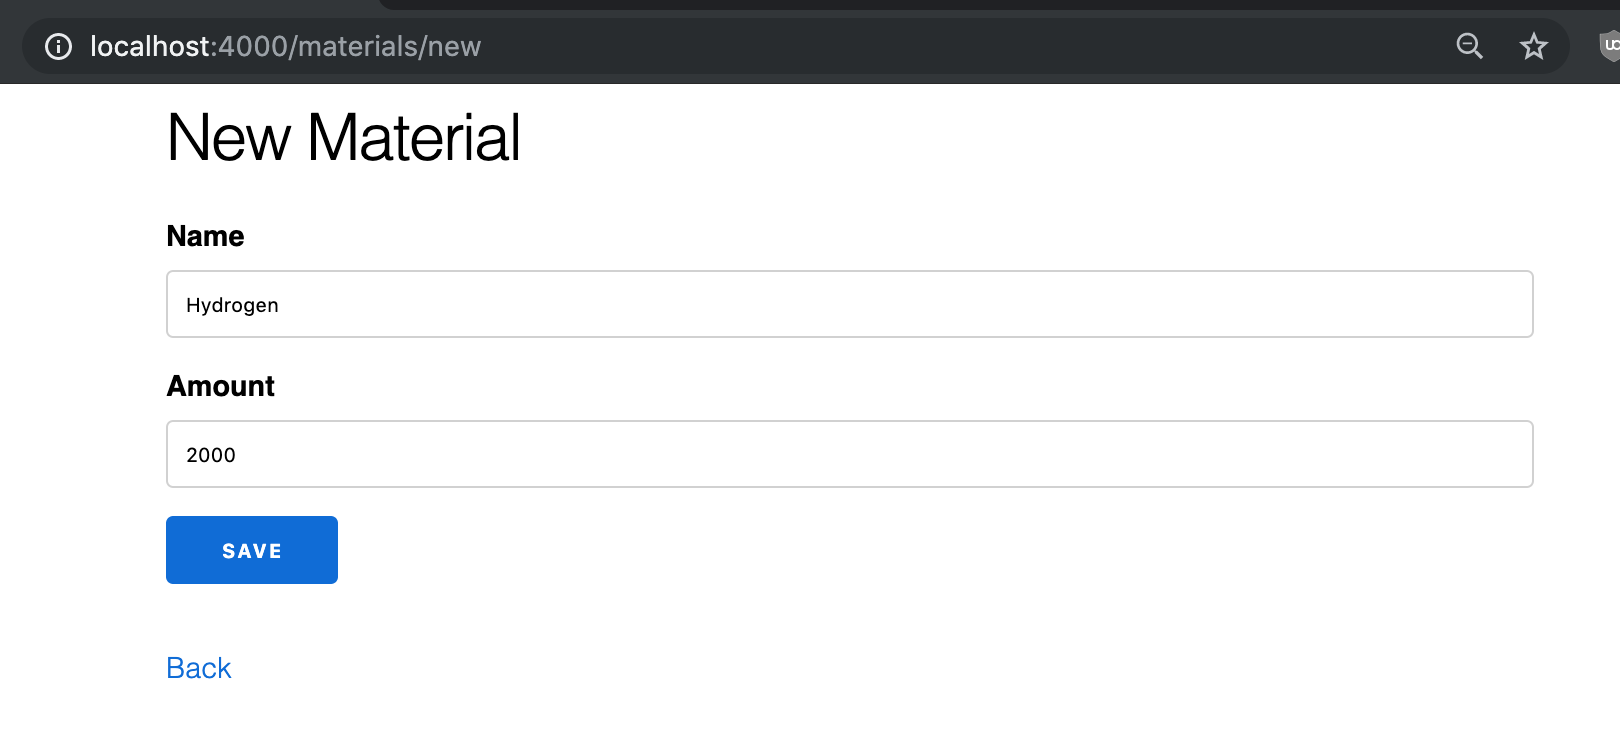
The name is self-explanatory, and in a move that will anger scientists the world over, we’re not attaching any units to the amount. Sorry. Think of it as two thousand moles of Hydrogen, if that helps you cope.
There are 6.022x10^23 atoms in a mole. One mole of Hydrogen is 1.008 grams. One mole of Helium is 4.003 grams, and one mole of Carbon is 12.011 grams. You don’t need to remember any of that, since we’re not actually attaching units in the app, but this fancy Chemical Physics degree needs to pay its way somehow.
Click the “Submit” button and you’ll find yourself at the route /materials/1. It gives you a nice “Material created successfully” message, then shows the material you just created.
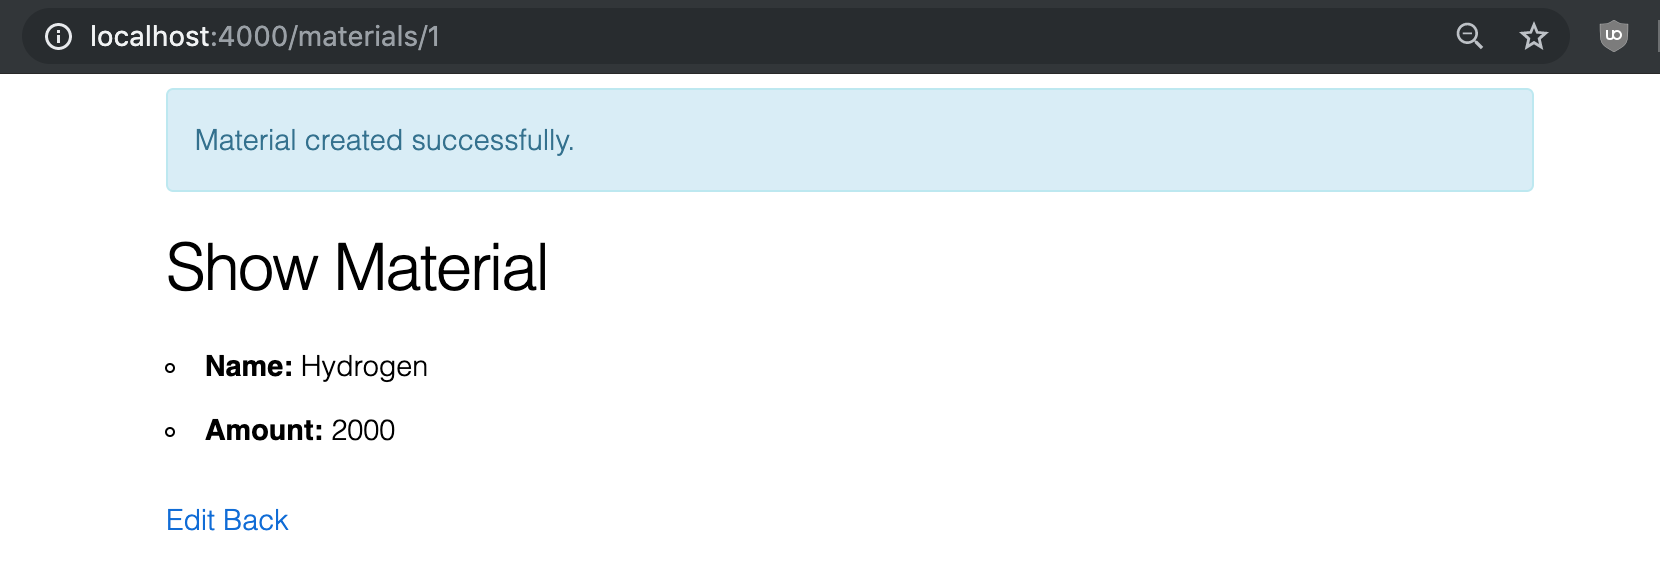
We have two buttons at the bottom: edit and back.
For now, let’s hit the back button, which will take us to the materials index page at /materials.

Now the table isn’t empty- it’s filled with the item you just created.
Let’s create more.
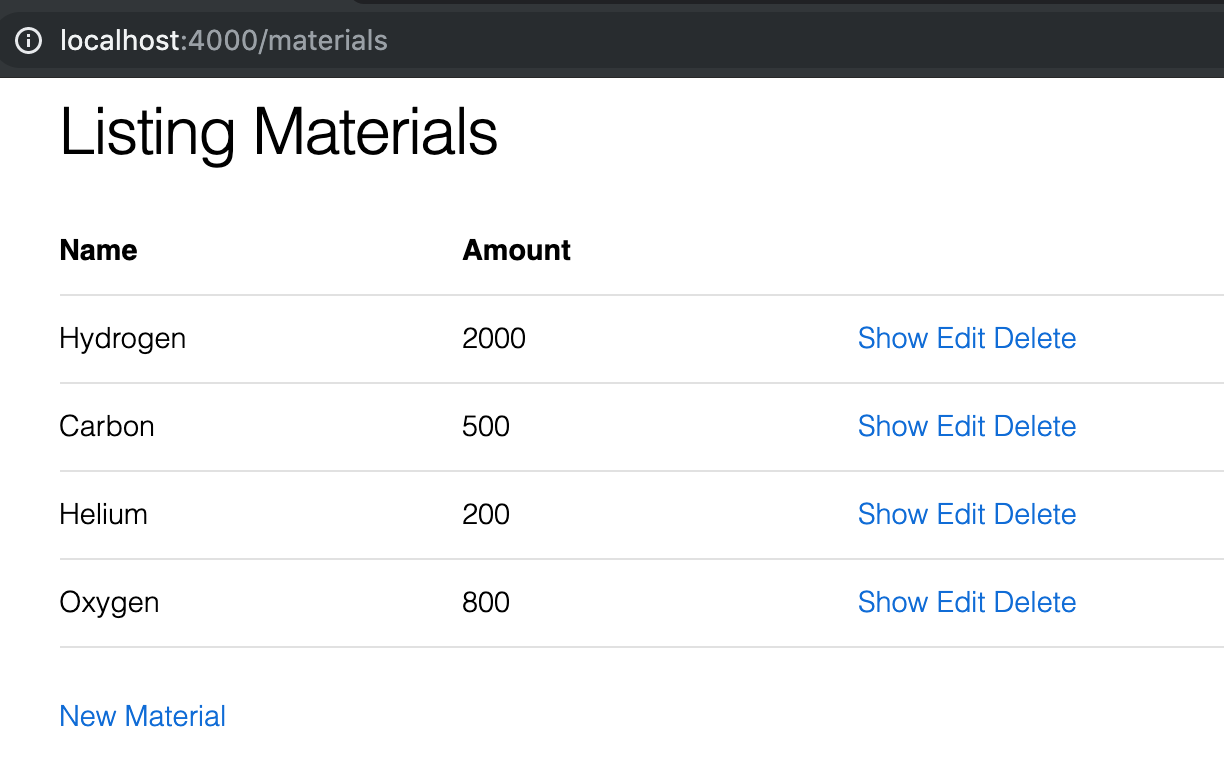
Now that we’ve got our table filled out, let’s check out those buttons to the right.
Exploring the default actions
delete does exactly what you’d expect- it deletes a material.
show takes you back /materials/1, which is sometimes colloquially called the “show page”, because it shows us one item.
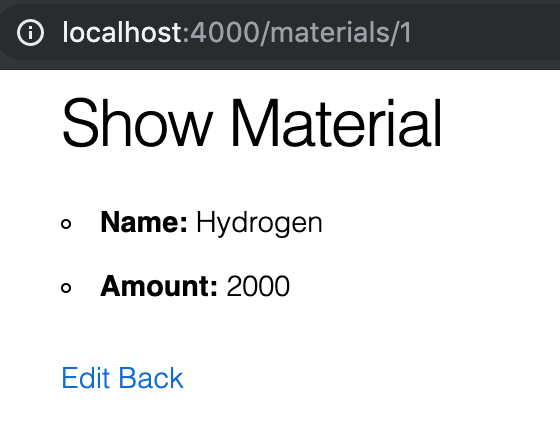
If you visit the show page of another material you’ll get a URL with a different number. That number is the id of the material in the database- a unique identifier and therefore a great way to determine which resource we’re talking about (unlike the name, which can change).
The id is automatically assigned. In this case it’s “1” because this is the first material we created and our current id-assignment scheme is sequential starting from 1.
The contents of the show page is the displayed data for the resource. Currently this is exactly what’s in the table on our index page, but often this includes more data than the table or a more user-friendly (but space-consuming) display of said data.
Below that we have two links we can click: Edit and Back. Back will take us back to our index page, so let’s click the more interesting Edit link.
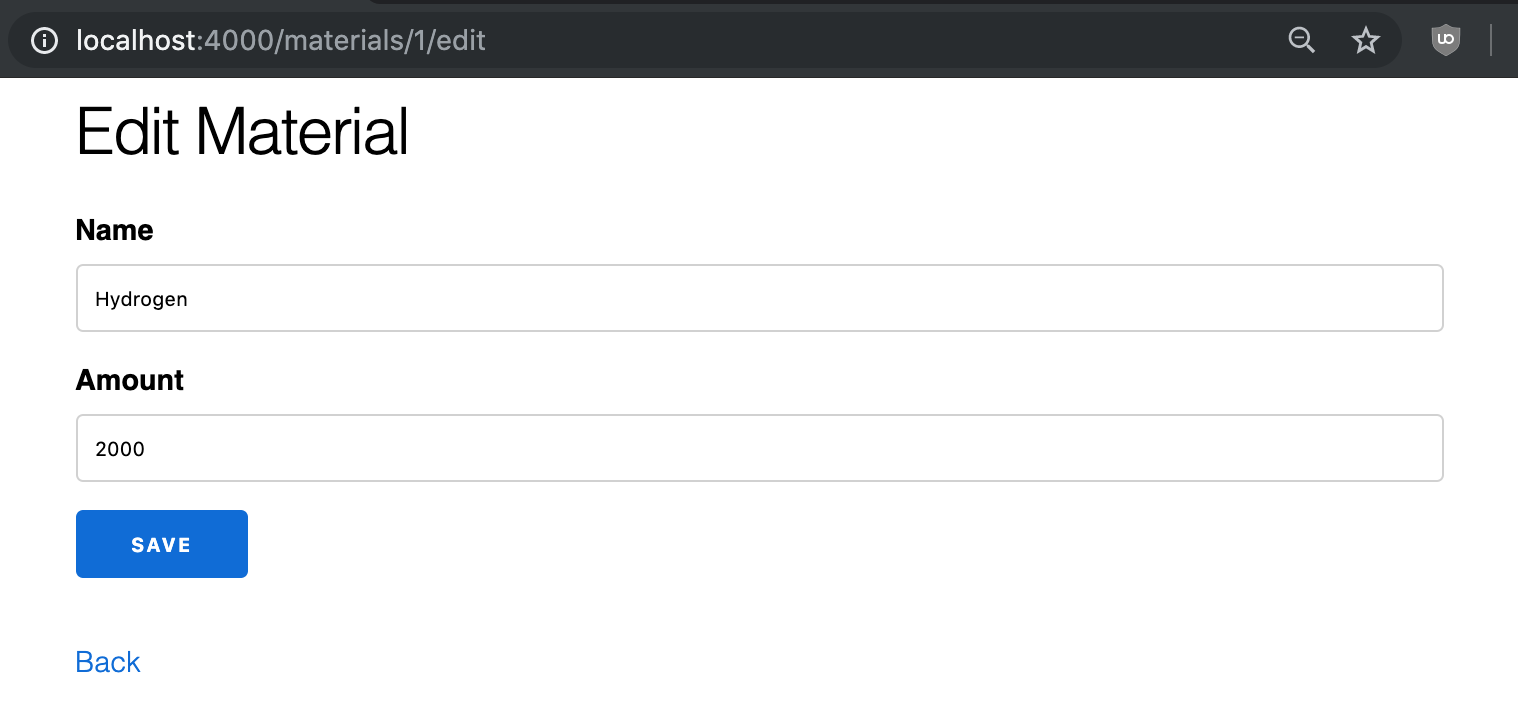
The url here is materials/1/edit. The 1 part is the id, determined the same way as in the show page.
You’ll notice that the contents of this page are almost exactly like our new form, except that the data fields come pre-filled (with the current data) and it says “Edit” up top instead of “New”. We’ll see why that is later when we look at how these pages are constructed.
Go ahead and change the update the amount to 3000 and click Submit.
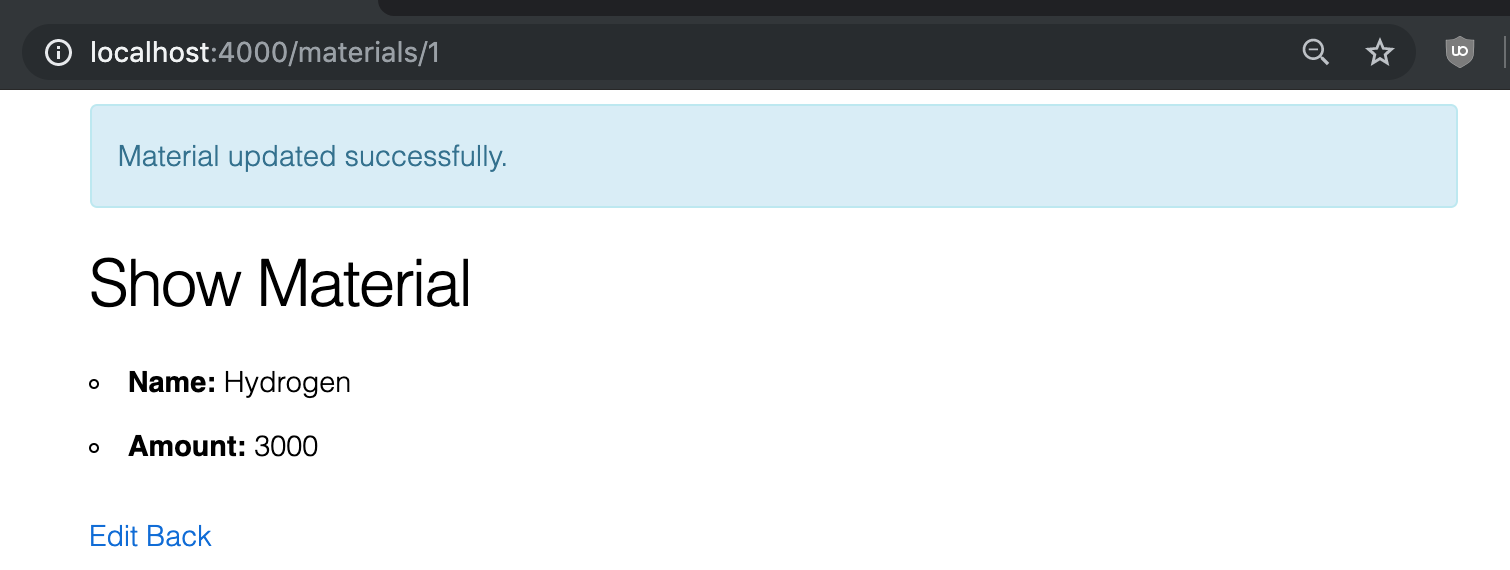
It automatically redirects us to the show page, with the amount changed and a nice “Material updated successfully” message.
Click the Back button to take us back to the index page. We’ll see our table as before, but with the updated amount of Hydrogen.
Conclusions
That’s how we generate and interact with a basic resource. We’ll be going over that piece by piece over the next several chapter, showing how each part works and how we can customize it. We’ll start by looking at what goes into the index route, tracing what happens starting from web/router.ex.
Exercises
- Generate the materials resource as shown in the chapter. Use the same fields.
- Input several materials into the database.
- Edit one of the materials.
- Delete one of the materials.
Buy the Ebook